Native Swift on Android, Part 2: Your First Swift Android App
Native Swift on Android, Part 2: Your First Swift Android App
Introduction
Swift is Apple’s recommended language for app development, and with good reason. Its safety, efficiency, and expressiveness have made it easier than ever to build fast, polished, and robust apps for the Apple ecosystem. Recent stories about Swift on Windows and Swift on the Playdate highlight developers’ desire to take advantage of Swift on other platforms too. In this series, we explore writing native Swift apps for Android with Skip.
Since its 1.0 release earlier this year, Skip has allowed developers to create cross-platform iOS and Android apps in Swift and SwiftUI by transpiling your Swift to Android’s native Kotlin language. Now, the Skip team is thrilled to give you the ability to use native, compiled Swift for cross-platform development as well.
Part 1 of this series described bringing a native Swift toolchain to Android. Being able to compile Swift on Android, however, is only the first small step towards real-world applications. In this and other installments, we introduce the other pieces necessary to go from printing “Hello World” on the console to shipping real apps on the Play Store:
- Integration of Swift functionality like logging and networking with the Android operating system.
- Bridging technology for using Android’s Kotlin/Java API from Swift, and for using Swift API from Kotlin/Java.
- The ability to power Jetpack Compose and shared SwiftUI user interfaces with native Swift
@Observables. - Xcode integration and tooling to build and deploy across both iOS and Android.
The “Hello Swift” App
The best way to learn is often by example. This post introduces you to native Swift apps on Android by exploring the “Hello Swift” app. This is the starter app that Skip generates when you initialize a new project, and it provides a fully-configured launch point for your own cross-platform Swift app development.
Before we can explore the sample, though, we have to install the tools necessary to create it - including Swift for Android!
First, ensure that you are on a macOS 14+ machine with Xcode 16, Android Studio, and Homebrew installed.
Next, open Terminal and type the following commands to install Skip and the native Android toolchain.
brew install skiptools/skip/skip
skip android sdk install
Finally, verify that everything is working with an additional Terminal command:
skip checkup --native
For detailed installation instructions, see the Getting Started documentation. If any steps in the checkup command fail, consult the generated log file, which should contain an error message describing the failure. You can seek assistance on our Slack or discussion forums.
If everything passes successfully, you can now create your first cross-platform native Swift app with the command:
skip init --native-model --open-xcode --appid=com.xyz.HelloSwift hello-swift HelloSwift HelloSwiftModel
That’s a long one! This tells Skip to initialize a new native Swift starter app and open it in Xcode. The app will use the hello-swift project folder, and it will be divided into two modules: a HelloSwift UI layer and a HelloSwiftModel model layer.
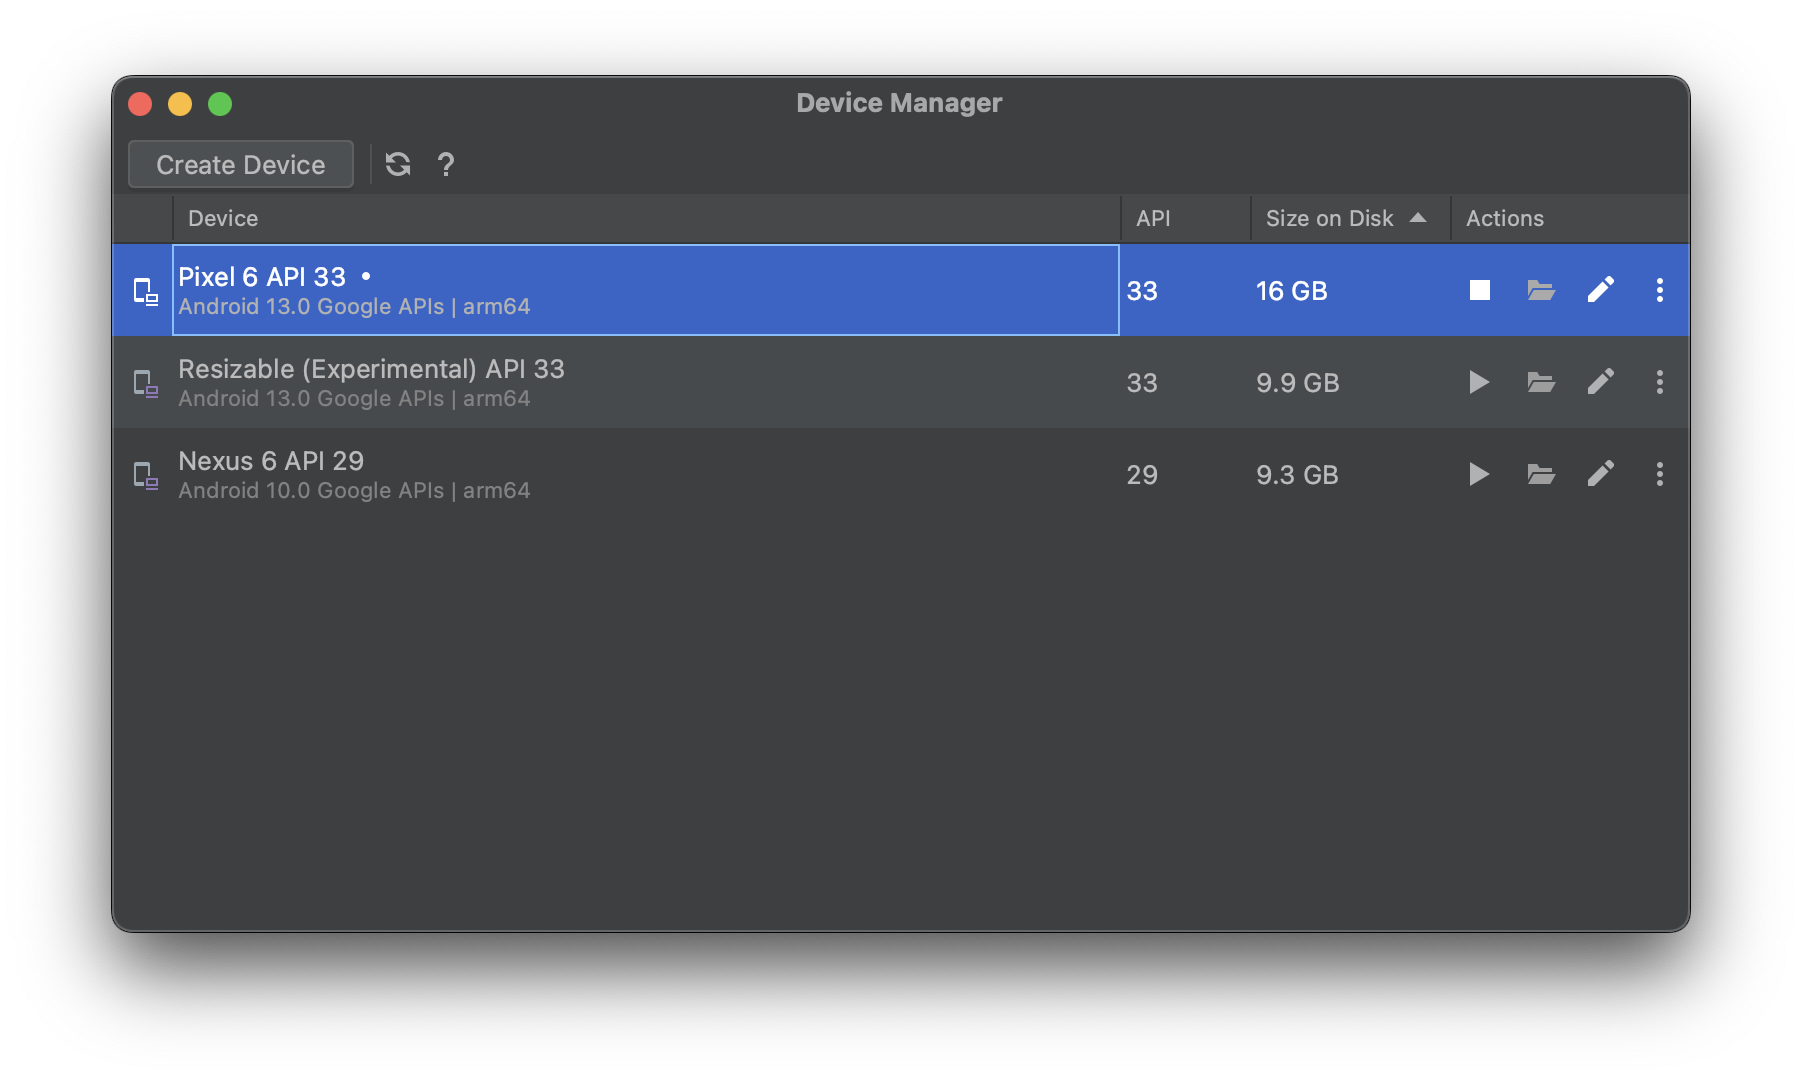
When you enter this command, Skip will generate the project, perform some checks, and then the app will open in Xcode. Before running it, though, you must first launch the Android emulator by opening Android Studio.app and selecting the Virtual Device Manager from the ellipsis menu of the Welcome dialog. From there, use the plus toolbar button to Create Device (e.g., “Pixel 6”) and then Launch the emulator.

Finally, select your desired iOS simulator in Xcode, then build and run the “HelloSwift” target.
The first build will take some time to compile the Skip libraries, and you may be prompted with a dialog to affirm that you trust the Skip plugin. Once the build and run action completes, the app will open in the selected iOS simulator, and at the same time the generated Android app will launch in the currently-running Android emulator.
App Overview
“Hello Swift” is a very simple CRUD app that contains a list of dated items. You can browse the full source code in Xcode, or online in its GitHub repository. At a high level, the Xcode project embeds a Swift Package Manager package called “HelloSwift”, which contains two targets:
- The
HelloSwiftmodule contains the SwiftUI for the app’s user interface. It will run natively on iOS and be transpiled by Skip’s “SkipStone” build plugin into Kotlin and Jetpack Compose for Android. HelloSwiftModelis a pure Swift module that contains an@Observable ViewModelclass. It will be compiled natively for both iOS and Android using the Swift toolchain for each platform.
Why is the HelloSwift SwiftUI layer transpiled to Kotlin, rather than also being compiled natively? Because Jetpack Compose, Android’s recommended UI toolkit, is a Kotlin API. Skip currently only supports defining SwiftUI views in transpiled targets.
The app allows you to add new items with the plus button, and items can be deleted and re-arranged by swiping and dragging. Tapping an item navigates to a form with editable fields for the various properties: title, date, a favorites toggle, and notes. HelloSwiftModel defines an item as:
public struct Item : Identifiable, Hashable, Codable {
    public let id: UUID
    public var date: Date
    public var favorite: Bool
    public var title: String
    public var notes: String
}
These items are held by an @Observable ViewModel class:
@Observable public class ViewModel {
    public var items: [Item] = loadItems() {
        didSet { saveItems() }
    }
}
And in the HelloSwift SwiftUI layer, the notes are managed by a SwiftUI List within a NavigationStack:
public struct ContentView: View {
    @State var viewModel = ViewModel()

    public var body: some View {
        NavigationStack {
            List {
                ForEach(viewModel.items) { item in
                    NavigationLink(value: item) {
                        Label {
                            Text(item.itemTitle)
                        } icon: {
                            if item.favorite {
                                Image(systemName: "star.fill")
                                    .foregroundStyle(.yellow)
                            }
                        }
                    }
                }
                .onDelete { offsets in
                    viewModel.items.remove(atOffsets: offsets)
                }
                .onMove { fromOffsets, toOffset in
                    viewModel.items.move(fromOffsets: fromOffsets, toOffset: toOffset)
                }
            }
            .navigationTitle(Text("\(viewModel.items.count) Items"))
            .navigationDestination(for: Item.self) { item in
                ItemView(item: item, viewModel: $viewModel)
                    .navigationTitle(item.itemTitle)
            }
            .toolbar {
                ToolbarItemGroup {
                    Button {
                        withAnimation {
                            viewModel.items.insert(Item(), at: 0)
                        }
                    } label: {
                        Label("Add", systemImage: "plus")
                    }
                }
            }
        }
    }
}
Module Interaction
On iOS, both the HelloSwift and HelloSwiftModel targets are native Swift, so communication between the two layers is seamlessly handled by the Swift dependency. On Android, however, recall that the HelloSwift module’s SwiftUI is transpiled to Kotlin. That Kotlin needs to be able to interact with the HelloSwiftModel module’s compiled Swift, which involves bridging the two languages and runtimes.
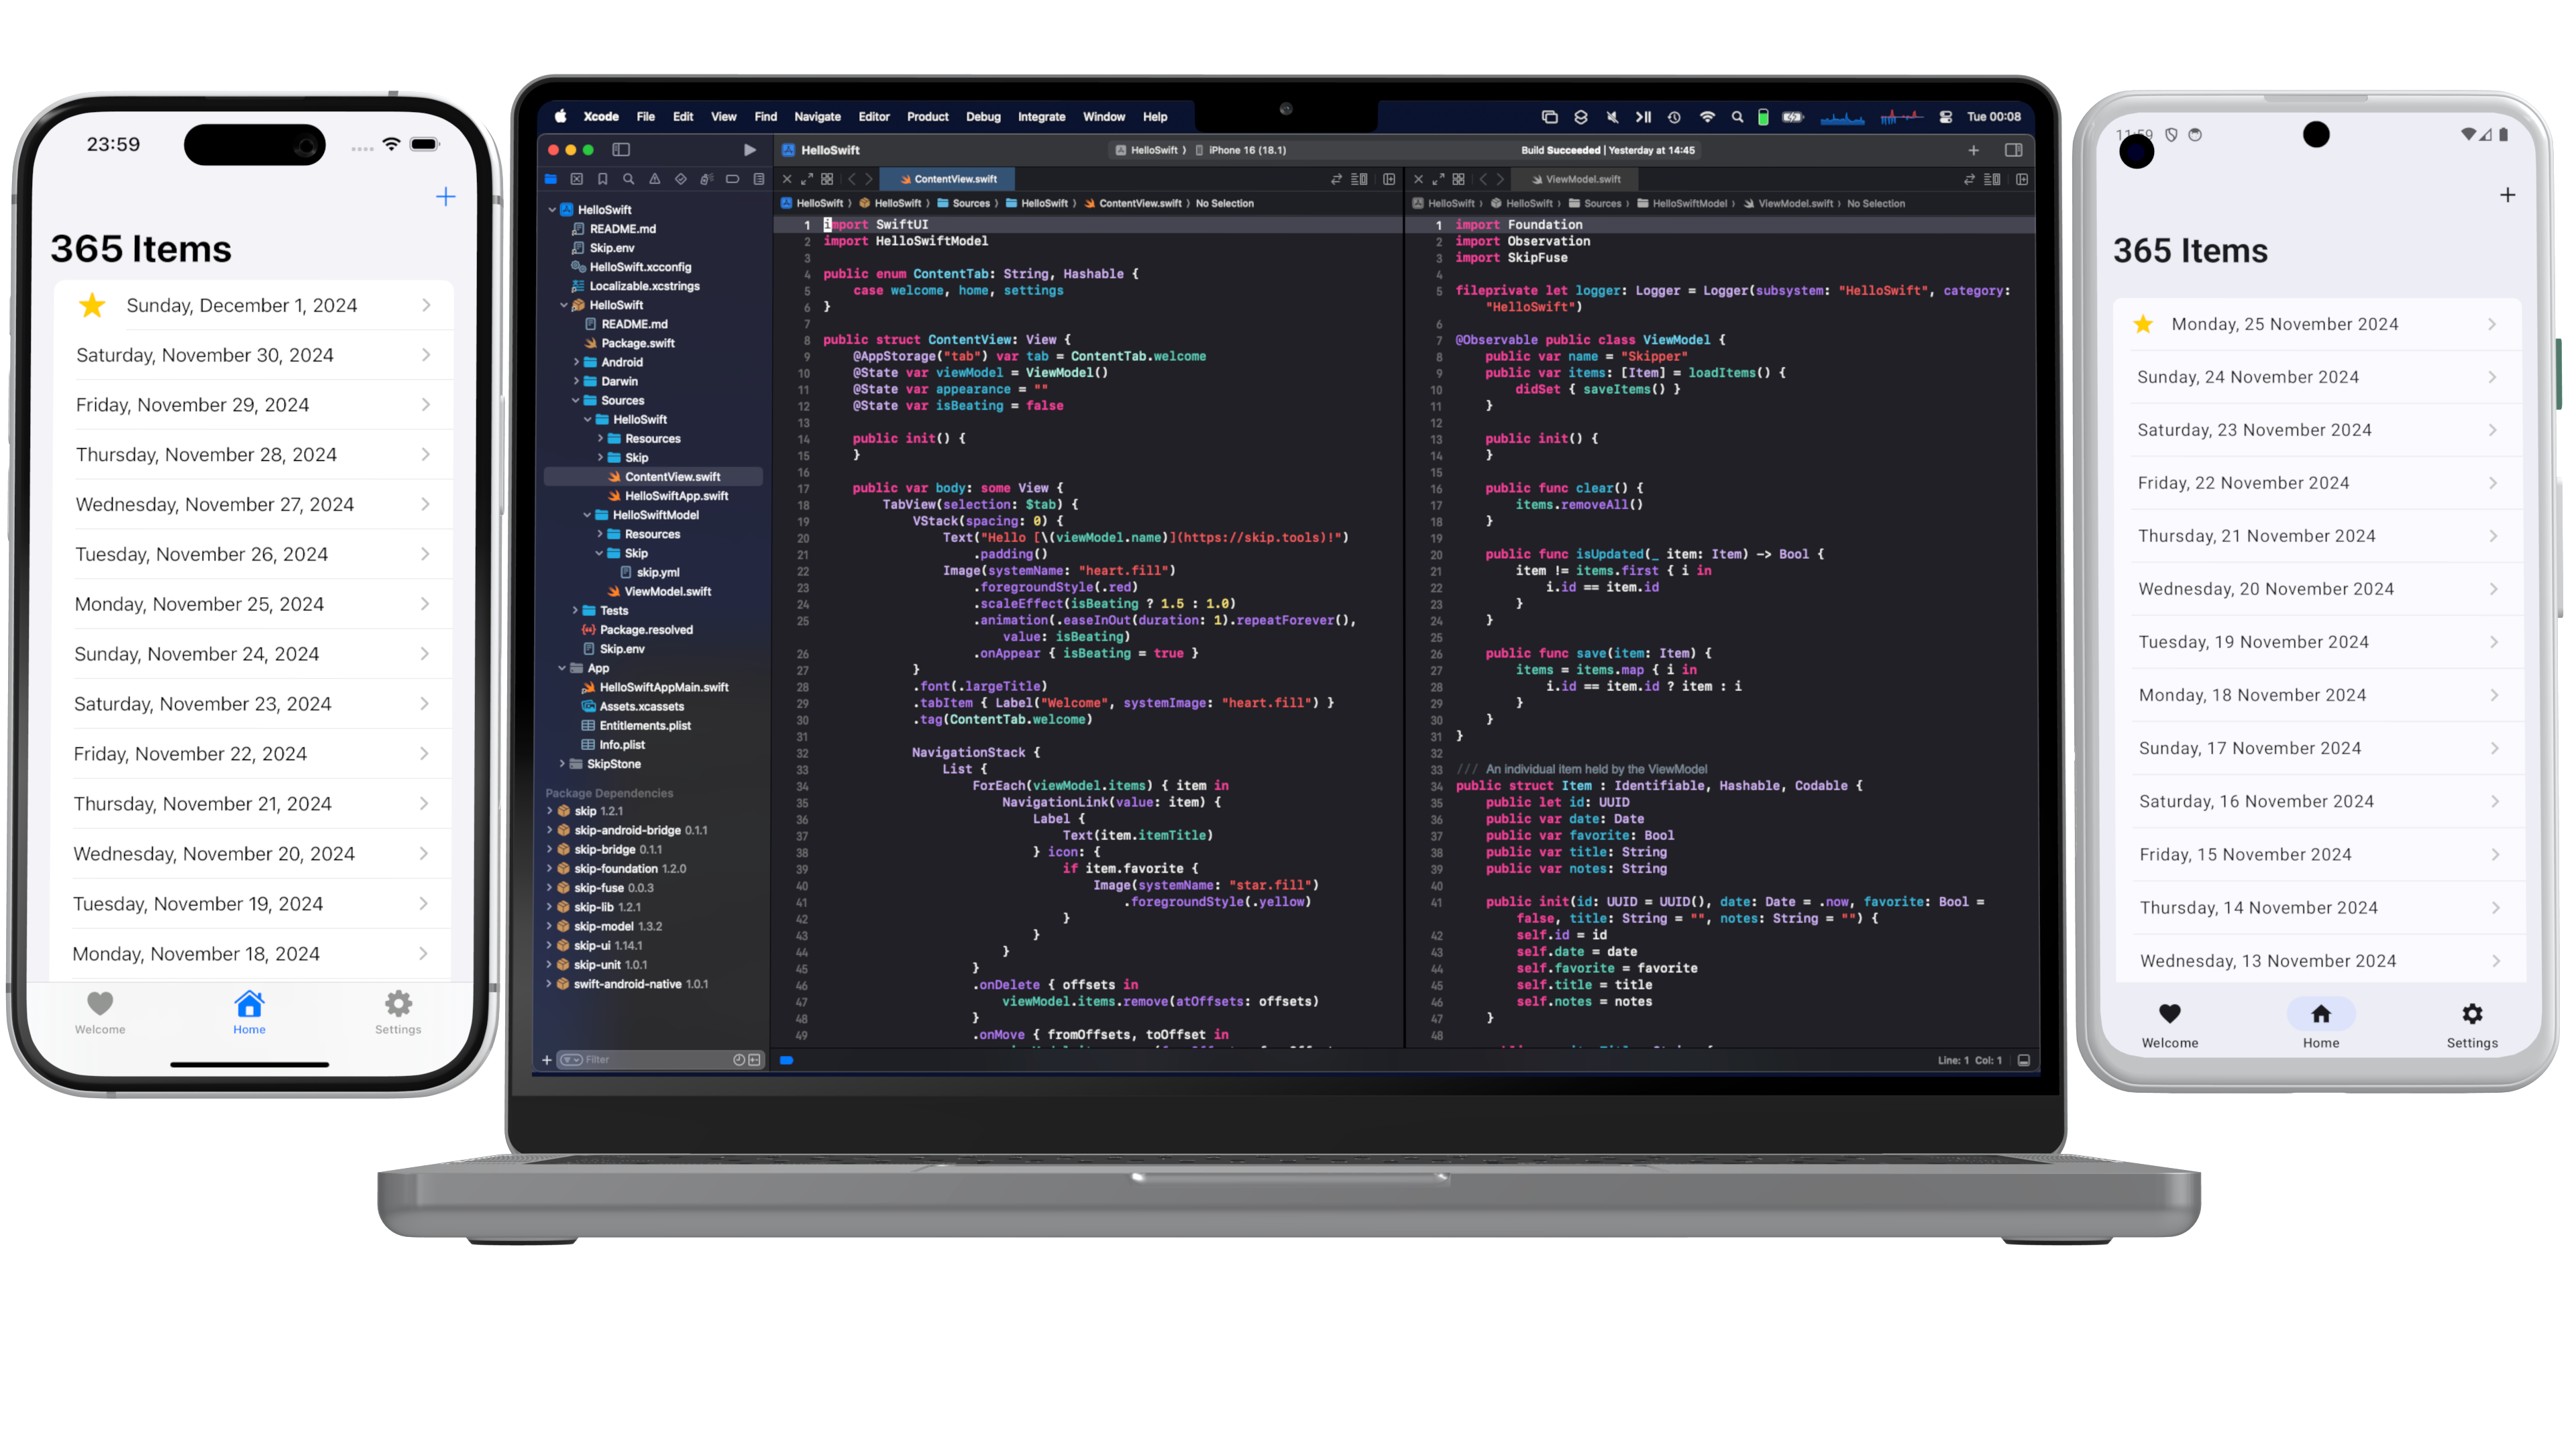
Skip’s bridging solution is called “SkipFuse”. Using the SkipStone build plugin, SkipFuse automatically generates bridging code that enables transparent communication between the two layers. This is modeled in the following diagram, which illustrates how the two modules are combined into final iOS and Android app packages:
The details of Skip’s bridging are discussed in the documentation. To summarize, the bridging system parses the public types, properties, and functions of your Swift module and exposes them to the transpiled Kotlin layer of your user interface. It supports the Observation framework, so you can use @Observable classes to manage application state in a way that is tracked by your UI, ensuring that your data and user interface are always in sync.
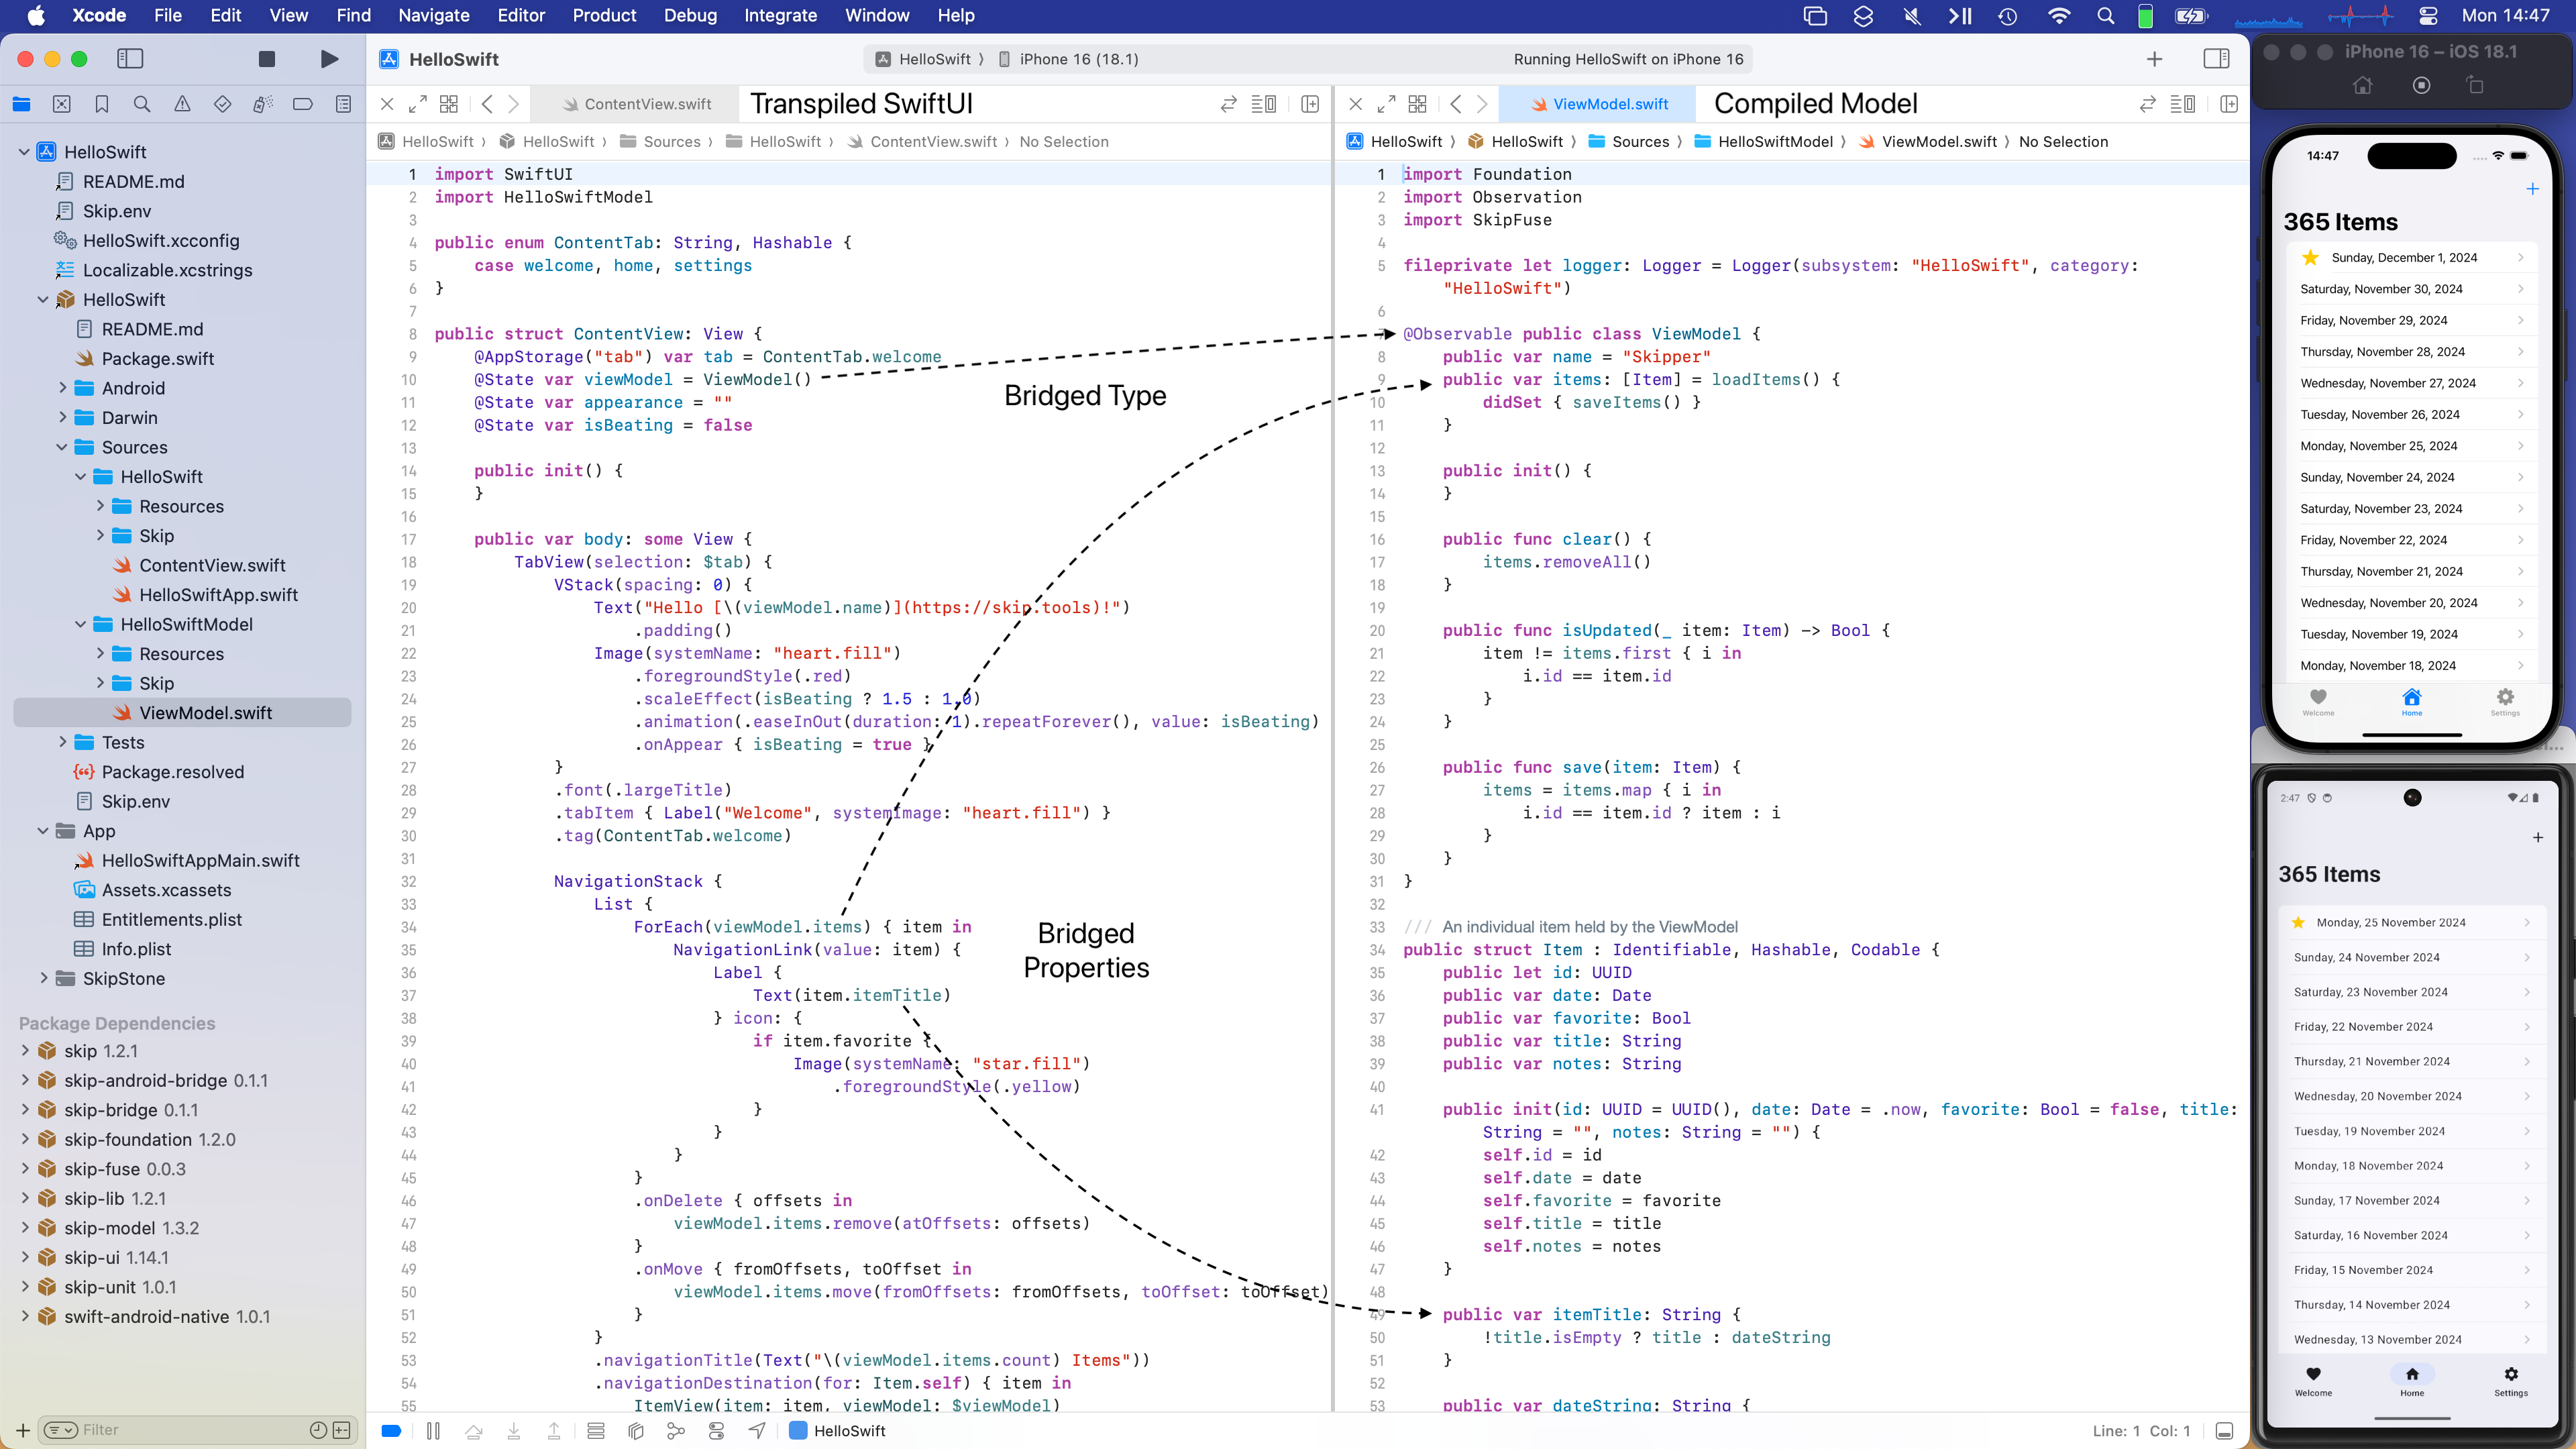
The following screenshot shows a split view between the HelloSwift module’s ContentView.swift and the HelloSwiftModel module’s ViewModel.swift. It demonstrates how the user interface layer communicates with the model layer in exactly the same way on both iOS and Android, although the latter is crossing a language boundary:
While this sample uses transpiled SwiftUI for its Android user interface, SkipFuse @Observables can power pure Jetpack Compose interfaces as well. We explore sharing a native Swift model between separate iOS SwiftUI and Android Compose apps in another post.
Toolchain Mechanics
Skip integrates with the Xcode and Swift Package Manager build systems using the SkipStone Xcode plugin. This plugin transpiles your non-native modules from Swift to Kotlin, and it generates the needed bridging code for communication between your native Swift modules and Kotlin or Java.
The skip init command you used to create the “Hello Swift” app also adds a build script to the generated Xcode project. This build script launches Android’s Gradle build tool to compile and package the plugin’s output into an Android APK. When your project has native modules, this includes compiling the native code using the Android toolchain described in Part 1.
But how does Skip know which modules to transpile and which are native? Every Skip module must include a Skip/skip.yml configuration file in its source folder. Here is the configuration for a native Swift module whose public API is bridged to Kotlin:
skip:
  mode: 'native'
  bridging: true
Once you have specified that a module is bridging, the entire process is automatic. You can iterate on both your native and transpiled code and re-launch the app, and the bridging code will be updated without needing to run an external tool or perform any other manual process.
Next Steps
Now that you’ve created your first native Swift Android app, what’s next? Well, remember that this is just a starter app designed to get you up and running. It is meant to be torn apart and modified, so feel free to experiment by changing the model and UI in Xcode!
If you’d like to learn much more about SkipFuse, bridging, and native Swift on Android, consider reading our Native Swift Tech Preview documentation. Many of the topics it covers are the subjects of additional posts in this series. For example, while we saw “Hello Swift” bridge its native Swift model layer to its transpiled Kotlin user interface, we haven’t discussed bridging Kotlin API for use by native Swift at all. The documentation covers this in depth.
You may also be interested in the nascent swift-java project, which is designed to facilitate communication between server-side Swift and Java libraries. While that is a very different environment than Android apps interacting with modern Kotlin APIs, they do overlap, and you might find swift-java's bridging approach useful. We anticipate that as it matures, this bridge and Skip’s native bridging will begin to align more closely in their techniques and implementation details.
Native Swift on Android Series
Additional posts in the native Swift on Android series:
- Part 1: A native Swift toolchain for Android
- Part 2: Your first native Swift Android app
- Part 3: Using a shared native Swift model to power separate SwiftUI iOS and Jetpack Compose Android apps
- Coming soon: Bridging Kotlin and Java API for consumption by native Swift
- Coming soon: Incorporating native Swift, C, and C++ dependencies into your cross-platform Swift apps
Conclusion
Swift’s safety, efficiency, and expressiveness make it an excellent development language, and its use across platforms is spreading. This series focuses on sharing native Swift code between iOS and Android with Skip. Part 1 introduced the native Swift toolchain for Android. Now in Part 2, you’ve created your first cross-platform Swift app. There is a lot of interesting territory that we haven’t yet explored, so check out Part 3 and beyond!


